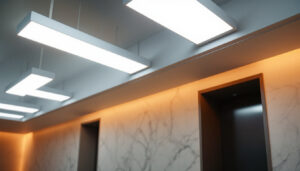
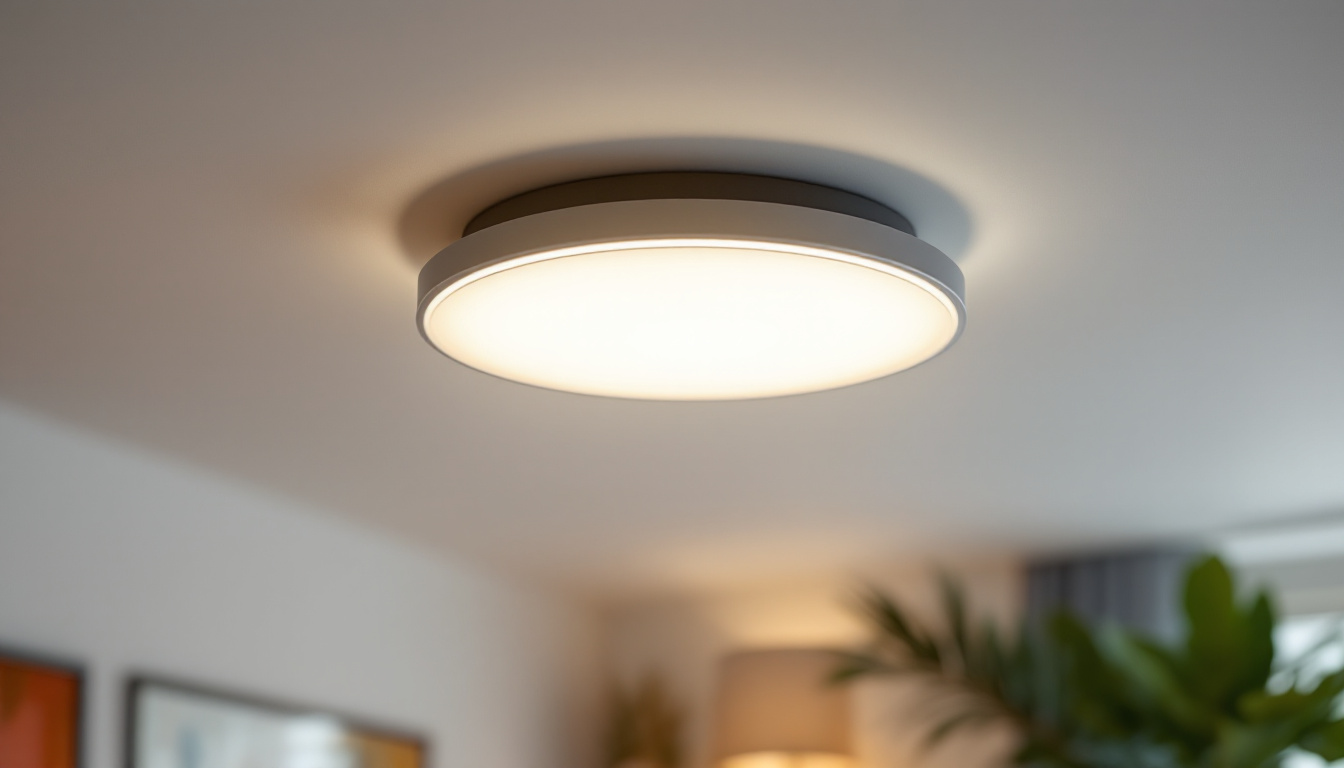
Can lighting, also known as recessed lighting, has become a popular choice among homeowners and designers alike. Its sleek design and ability to provide ambient lighting make it a staple in modern interiors. However, installing can lights requires meticulous planning and execution. For lighting contractors, having a comprehensive checklist can streamline the process and ensure that every project meets the highest standards. This article provides a thorough checklist tailored for lighting contractors working with can lighting.
Understanding Can Lighting
Before diving into the checklist, it’s essential to understand what can lighting entails. Can lights are installed into the ceiling, creating a clean, unobtrusive look. They can be used for various purposes, including general lighting, task lighting, and accent lighting. The versatility of can lights makes them suitable for residential and commercial spaces. In addition to their aesthetic appeal, can lights are often energy-efficient, especially when paired with LED bulbs, which can significantly reduce electricity costs over time while providing bright, consistent illumination.
Types of Can Lights
There are several types of can lights available on the market, each designed for specific applications. Some common types include:
- New Construction Can Lights: Designed for installation in new builds or during major renovations, these fixtures require framing and are typically easier to install when the ceiling is open.
- Remodel Can Lights: Ideal for retrofitting existing spaces, these fixtures can be installed in ceilings without major renovations, making them a popular choice for upgrades.
- IC Rated Can Lights: These fixtures are designed to be in contact with insulation, making them suitable for insulated ceilings.
Benefits of Can Lighting
Can lighting offers numerous advantages, including:
- Space-Saving: Because they are recessed, can lights take up no physical space in the room, allowing for more design flexibility.
- Versatile Lighting Options: They can be used in various configurations, from single fixtures to multiple lights on a dimming system.
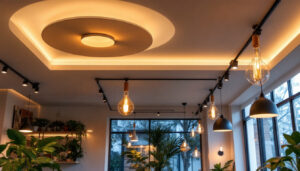
- enhanced aesthetics: Can lights provide a clean and modern look, enhancing the overall appearance of any room.
Moreover, can lights can be strategically placed to highlight architectural features or artwork, creating focal points that draw the eye and add depth to a space. The ability to adjust the beam angle and direction of some can lights also allows homeowners and designers to customize the lighting effect, making it easy to create a warm, inviting atmosphere or a bright, energizing environment, depending on the desired mood. Additionally, with advancements in smart lighting technology, many can lights can now be integrated into home automation systems, enabling users to control their lighting remotely or set schedules for different times of the day.
When planning your can lighting layout, it’s important to consider the overall design of the space and the activities that will take place there. For instance, in a kitchen, task lighting is crucial for areas like countertops and islands, while in a living room, a combination of ambient and accent lighting can create a cozy and welcoming environment. The use of dimmers can further enhance the functionality of can lights, allowing for adjustments in brightness to suit various occasions, from lively gatherings to quiet evenings at home.
Pre-Installation Checklist
Proper planning is crucial for a successful can lighting installation. The following checklist outlines the essential steps to take before installation begins.
Site Assessment
Conducting a thorough site assessment helps identify potential challenges and opportunities for the installation. Consider the following:
- Ceiling Height: Measure the ceiling height to determine the appropriate can light size and placement.
- Existing Wiring: Inspect existing electrical wiring to ensure it meets code and can support the new fixtures.
- Obstacles: Identify any beams, ducts, or plumbing that may interfere with the installation.
Additionally, it’s important to assess the overall layout of the room. Take note of furniture placement and how natural light enters the space, as these factors can influence where the can lights should be positioned. For instance, if a room has large windows, you might want to place lights in a way that complements the natural light rather than competing with it. Furthermore, consider the room’s purpose; a cozy reading nook may benefit from softer lighting, while a kitchen may require brighter, more focused illumination.
Design Considerations
Design plays a significant role in the effectiveness of can lighting. When planning the layout, keep these factors in mind:
- Lighting Purpose: Determine whether the lights will be used for general illumination, task lighting, or accent lighting.
- Spacing: Follow the rule of thumb for spacing can lights, typically 4 to 6 feet apart, depending on the fixture’s wattage and the room’s size.
- Dimmer Switches: Consider incorporating dimmer switches for adjustable lighting levels, enhancing the versatility of the space.
Moreover, think about the color temperature of the bulbs you plan to use. Warmer tones (around 2700K to 3000K) create a cozy atmosphere, ideal for living areas, while cooler tones (4000K and above) are often preferred for workspaces, as they mimic daylight and can help improve focus. Additionally, the style of the can lights themselves can greatly affect the overall aesthetic of the room; whether you choose sleek, modern fixtures or more traditional designs, ensure they align with your overall decor theme for a cohesive look. Remember, the right combination of design elements will not only enhance the functionality of the lighting but also elevate the ambiance of your space.
Installation Checklist
Once the pre-installation steps are complete, it’s time to focus on the actual installation process. This checklist will guide contractors through each phase of the installation.
Gathering Tools and Materials
Before starting the installation, ensure that all necessary tools and materials are on hand. This includes:
- Can Lights: Choose the appropriate fixtures based on the pre-installation assessment.
- Electrical Wiring: Ensure you have the correct gauge wire for the installation.
- Tools: Gather tools such as a drill, wire strippers, a voltage tester, and a stud finder.
Electrical Safety
Safety should always be a priority during installation. Follow these electrical safety guidelines:
- Power Off: Turn off the power at the circuit breaker before starting any electrical work.
- Use a Voltage Tester: Verify that the power is off using a voltage tester before handling any wires.
- Follow Local Codes: Ensure compliance with local electrical codes and regulations throughout the installation.
Installation Steps
With safety measures in place, proceed with the installation. The following steps outline the process:
- Mark Locations: Use a pencil to mark the locations of the can lights on the ceiling based on your design plan.
- Cut Holes: Use a drywall saw to cut holes for the can lights, ensuring they are the correct size for the fixtures.
- Run Wiring: Run electrical wiring from the power source to each can light location, securing it properly.
- Install Can Lights: Insert the can lights into the holes and secure them according to the manufacturer’s instructions.
- Connect Wiring: Connect the wiring to each fixture, ensuring that connections are secure and insulated.
- Test the Lights: Once everything is connected, turn the power back on and test the lights to ensure proper functionality.
Post-Installation Checklist
After installation, it’s essential to conduct a thorough review to ensure everything is functioning correctly and meets quality standards. This checklist will help contractors wrap up the project effectively.
Final Inspections
Conducting final inspections is crucial to ensure that everything is in order. Consider the following:
- Functionality: Test each can light to confirm that it operates correctly.
- Alignment: Check that all fixtures are aligned properly and flush with the ceiling.
- Safety Checks: Ensure that all wiring is secure and that there are no exposed connections.
Client Walkthrough
Once the installation is complete, a walkthrough with the client can help ensure satisfaction and address any questions. During this walkthrough:
- Demonstrate Features: Show the client how to operate dimmer switches and any other features of the lighting system.
- Discuss Maintenance: Provide information on how to maintain the can lights and when to replace bulbs.
- Gather Feedback: Encourage the client to provide feedback on the installation process and the final product.
Common Challenges and Solutions
Even with a comprehensive checklist, challenges can arise during can lighting installations. Being prepared for these common issues can help contractors navigate them effectively.
Wiring Issues
Wiring problems can often cause delays or complications during installation. To address these issues:
- Inspect Existing Wiring: Before starting, ensure that the existing wiring is in good condition and meets the necessary codes.
- Use the Right Gauge: Always use the appropriate wire gauge for the load to prevent overheating and potential hazards.
Ceiling Structure Challenges
Obstacles within the ceiling structure can complicate installations. To overcome these challenges:
- Use a Stud Finder: Before cutting holes, use a stud finder to locate beams and other structural elements to avoid damaging them.
- Adjust Layout: Be flexible with the layout if obstacles are present, ensuring that the final design still meets the client’s needs.
Client Expectations
Managing client expectations is crucial for a successful project. To ensure alignment:
- Clear Communication: Maintain open lines of communication throughout the project to address any concerns or changes.
- Set Realistic Timelines: Provide clients with realistic timelines for the installation process, factoring in potential challenges.
Conclusion
Can lighting installations can significantly enhance the aesthetic and functionality of a space. For lighting contractors, having a detailed checklist is invaluable in ensuring a smooth installation process. From pre-installation planning to post-installation inspections, each step plays a crucial role in delivering a high-quality result. By following this checklist, contractors can enhance their efficiency, improve client satisfaction, and ultimately build a reputation for excellence in the field of lighting design.
Get Your Premium Can Lighting Supplies at LumenWholesale
Ready to elevate your can lighting installations with superior quality products at unbeatable prices? Look no further than LumenWholesale. Our spec-grade lighting selection is designed to meet the highest industry standards, ensuring reliability and performance for every project. Say goodbye to inflated markups and hello to hassle-free bulk buying with free shipping. Make your next project shine with the perfect blend of quality, affordability, and convenience. Discover the best value in wholesale lighting by visiting LumenWholesale today.