ceiling can lights, also known as recessed lights or downlights, have become a staple in modern lighting design. For lighting contractors, understanding the intricacies of these fixtures is essential for delivering quality installations that meet client expectations. This comprehensive handbook explores the various aspects of ceiling can lights, from types and installation techniques to energy efficiency and design considerations.
Understanding Ceiling Can Lights
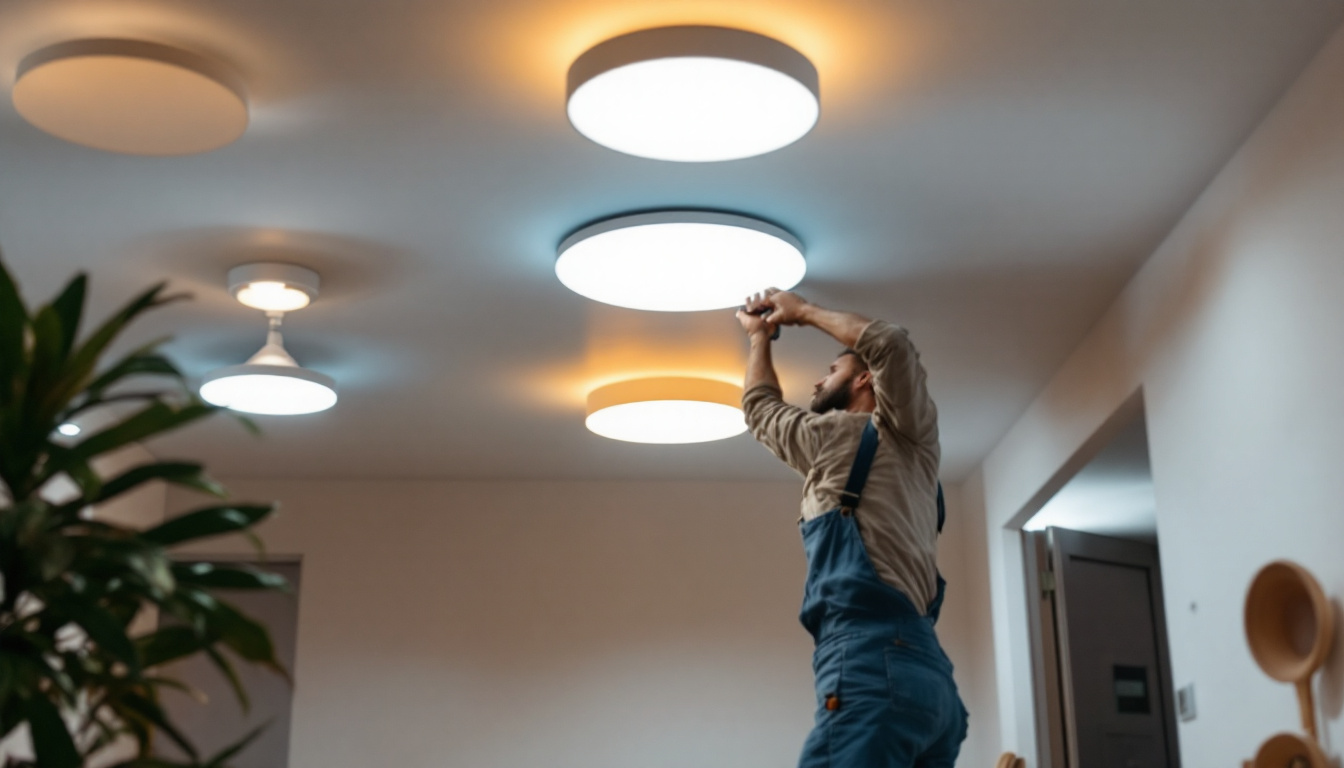
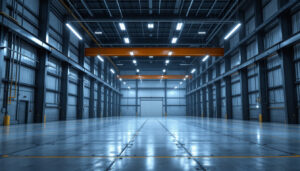
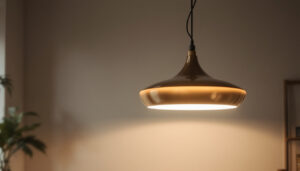
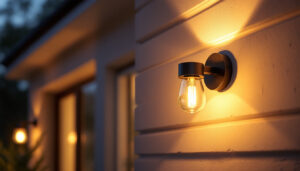
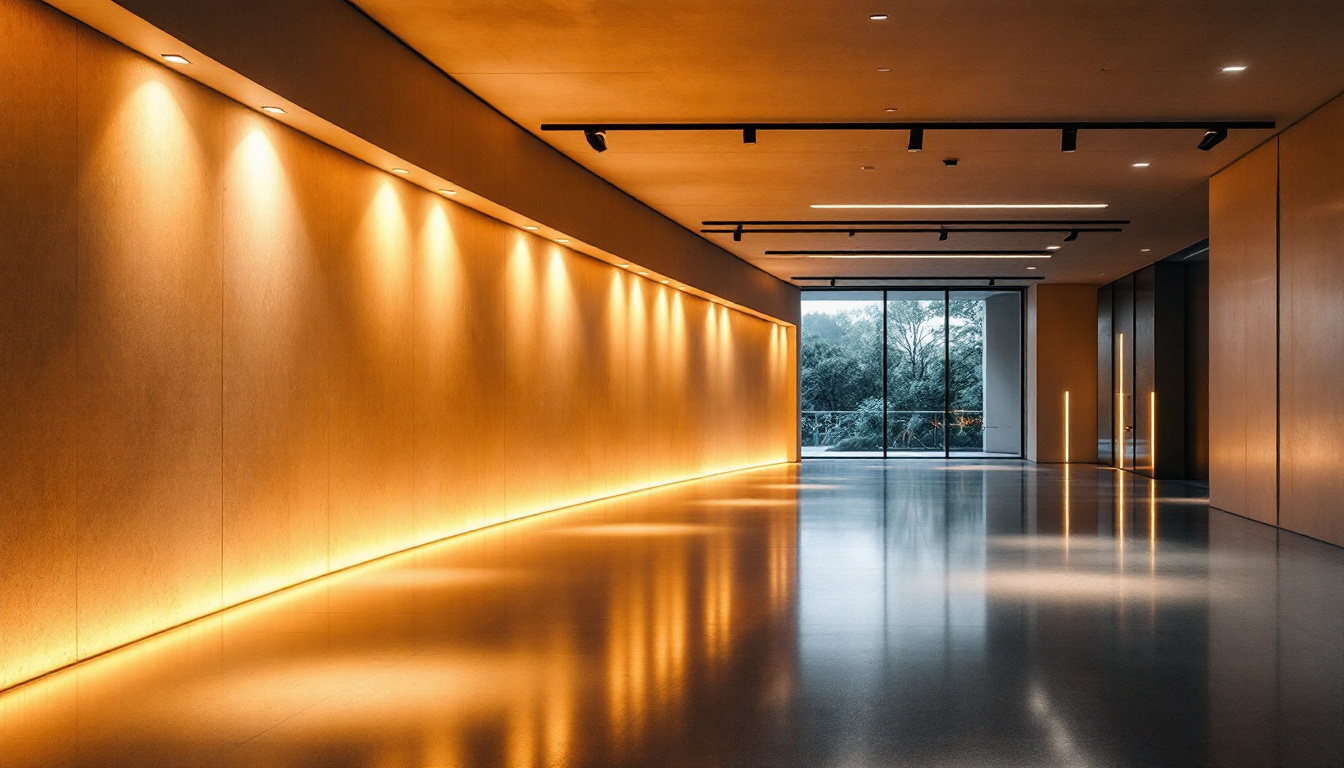
Ceiling can lights are fixtures that are installed into a hollow opening in the ceiling, allowing for a sleek, unobtrusive look. They can be used in a variety of settings, including residential homes, commercial spaces, and even outdoor areas. Their versatility and aesthetic appeal make them a popular choice among homeowners and designers alike. The ability to direct light where it is needed most enhances both functionality and ambiance, making these fixtures ideal for tasks ranging from reading to entertaining.
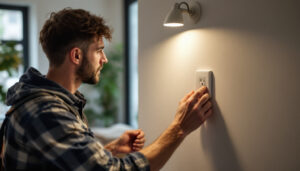
Moreover, the integration of smart lighting technology has further elevated the appeal of ceiling can lights. Homeowners can now control brightness and color temperature through mobile apps or voice commands, allowing for a customized lighting experience that can adapt to different moods and activities. This modern twist on traditional lighting not only improves convenience but also contributes to energy efficiency, as users can easily adjust settings to minimize energy consumption when full lighting is unnecessary.
Types of Ceiling Can Lights
There are several types of ceiling can lights available, each designed for specific applications. The most common types include:
- New Construction Can Lights: Designed for use in new builds, these fixtures are installed before the ceiling is finished. They often come with adjustable mounting brackets that allow for precise positioning during installation.
- Remodel Can Lights: Ideal for retrofitting existing spaces, these fixtures can be installed in finished ceilings. Their design typically includes a spring-loaded clip that secures the light in place without the need for additional framing.
- IC Rated Can Lights: These are suitable for use in insulated ceilings, ensuring safety and compliance with building codes. They prevent overheating and are designed to be in direct contact with insulation, making them a safe choice for energy-efficient homes.
- Non-IC Rated Can Lights: Used in non-insulated ceilings, these fixtures require a minimum clearance from insulation materials. They are often more affordable and can be a great option for areas where insulation is not a concern.
Components of Can Lights
Understanding the components of ceiling can lights is crucial for contractors. The main elements include:
- Housing: The metal can that holds the light bulb and electrical components. This housing is typically made from durable materials that can withstand heat and provide longevity.
- Trim: The visible part of the fixture that can vary in style and finish, affecting the overall aesthetic. Trims can range from sleek and modern to decorative and ornate, allowing homeowners to match their lighting to their interior design.
- Light Source: Options include incandescent, halogen, LED, and fluorescent bulbs, each offering different benefits. LED bulbs, for example, are known for their energy efficiency and long lifespan, while incandescent bulbs provide a warm glow that many find appealing.
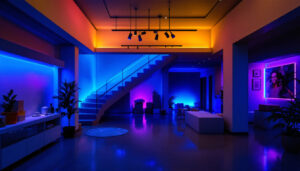
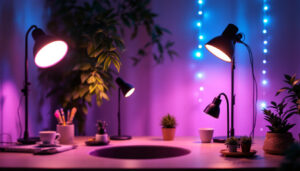
Additionally, the choice of light source can significantly impact the quality of light produced. For instance, LED options are available in various color temperatures, allowing users to select a warm white for cozy spaces or a cooler white for task-oriented areas like kitchens and offices. This flexibility in lighting can enhance the functionality of a room while also contributing to its overall mood and aesthetic appeal.
Installation Techniques
Proper installation of ceiling can lights is vital for achieving optimal performance and safety. Here are some essential techniques to consider:
Planning the Layout
Before installation, planning the layout is crucial. Consider the following:
- Room size and shape
- Purpose of the lighting (task, ambient, or accent)
- Spacing between fixtures (typically 4 to 6 feet apart)
Using a lighting design software can help visualize the layout and ensure an even distribution of light. Additionally, it’s beneficial to take into account any existing architectural features, such as beams or ductwork, which may affect the placement of your fixtures. For instance, if you’re lighting a kitchen, you may want to position can lights directly over work areas like countertops and islands to provide focused illumination where it’s needed most. In contrast, living rooms may benefit from a more ambient approach, where lights are spaced to create a warm and inviting atmosphere.
Electrical Considerations
Electrical work must comply with local codes and regulations. Key points to keep in mind include:
- Ensure the circuit can handle the additional load from the new fixtures.
- Use appropriate wiring and connectors to maintain safety and efficiency.
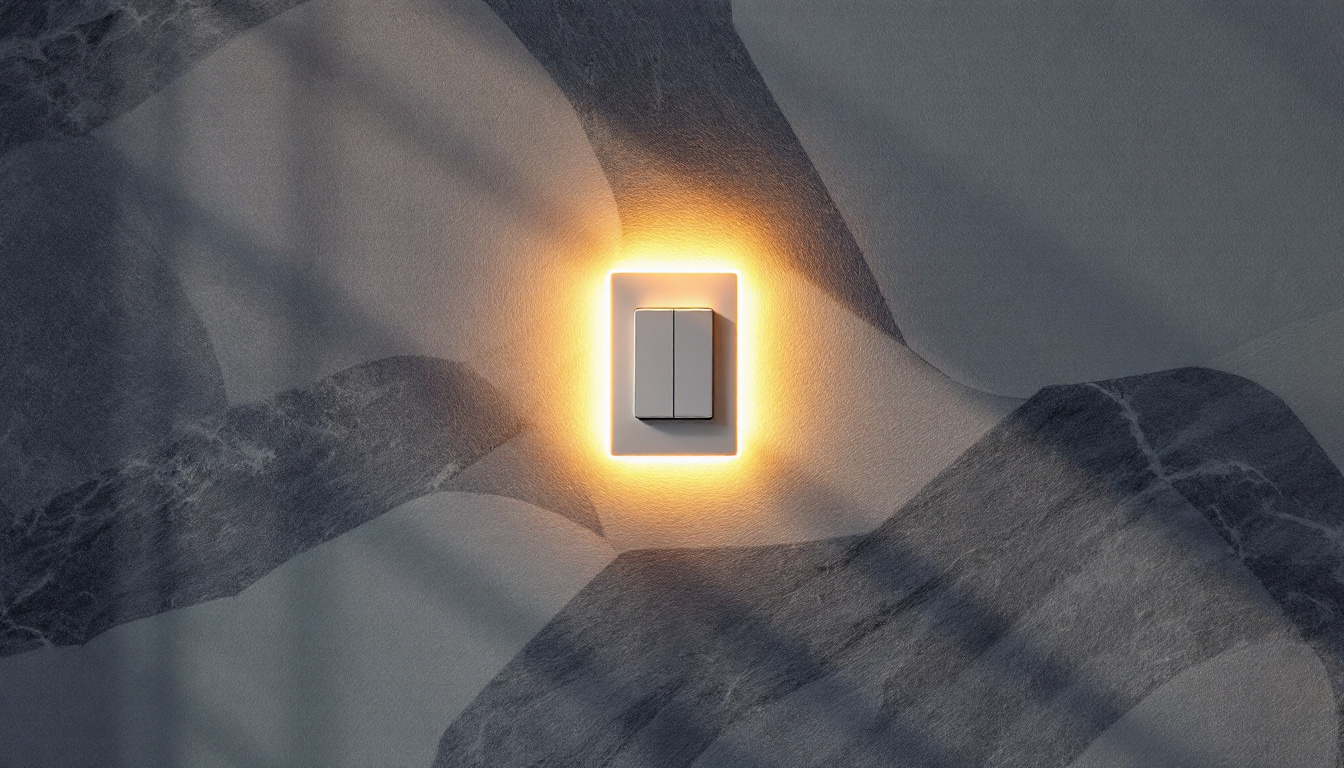
- Consider installing dimmer switches for added versatility.
It’s also wise to consider the type of bulbs you plan to use in your can lights, as LED options can significantly reduce energy consumption and heat output compared to traditional incandescent bulbs. This not only contributes to a lower electric bill but also enhances safety by minimizing the risk of overheating, particularly in enclosed spaces. Furthermore, if you’re integrating smart home technology, selecting compatible fixtures can open up a range of possibilities for remote control and automation of your lighting system.
Installation Steps
The installation process generally follows these steps:
- Turn off the power to the circuit.
- Cut the appropriate hole in the ceiling for the can light housing.
- Install the housing according to the manufacturer’s instructions.
- Connect the wiring securely and ensure all connections are insulated.
- Attach the trim and insert the light bulb.
- Restore power and test the fixture.
During the installation, it’s important to take your time and double-check each step to avoid any mistakes that could lead to issues down the line. For example, ensuring that the housing is properly secured will prevent any rattling or movement that could affect the light’s performance. Additionally, consider using a stud finder to avoid any hidden plumbing or electrical lines when cutting holes in the ceiling. After installation, don’t forget to clean the fixtures and trim to remove any dust or debris that may have accumulated during the process, ensuring they shine brightly once powered on.
Energy Efficiency and Sustainability
As energy efficiency becomes increasingly important, contractors must be knowledgeable about the options available for ceiling can lights. LED fixtures are leading the way in sustainable lighting solutions.
Benefits of LED Can Lights
LED can lights offer numerous advantages over traditional incandescent and halogen bulbs, including:
- Energy Savings: LEDs use significantly less energy, leading to lower utility bills.
- Longevity: With a lifespan of up to 25,000 hours, LEDs reduce the frequency of replacements.
- Less Heat Emission: LEDs generate minimal heat, making them safer and reducing cooling costs.
Compliance with Energy Codes
Many regions have adopted energy codes that require the use of energy-efficient lighting. Familiarity with these codes is essential for contractors to ensure compliance and avoid penalties. Staying updated on local regulations can also provide a competitive edge in the market.
Design Considerations
The aesthetic appeal of ceiling can lights is just as important as their functionality. Here are some design considerations to keep in mind:
Trim Styles and Finishes
The trim of can lights can significantly influence the overall look of a space. Options include:
- Reflector Trims: These are designed to enhance brightness and are ideal for task lighting.
- Baffle Trims: These reduce glare and are suitable for ambient lighting.
- decorative trims: Available in various finishes, these trims can add a stylish touch to any room.
Color Temperature and Brightness
Choosing the right color temperature is crucial for setting the mood in a space. Common options include:
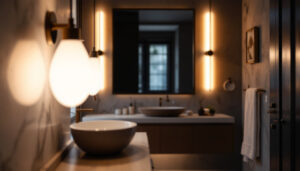
- Warm White (2700K-3000K): Creates a cozy atmosphere, perfect for living rooms and bedrooms.
- Neutral White (3500K-4100K): Offers a balanced light, suitable for kitchens and workspaces.
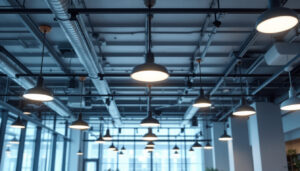
- Cool White (5000K-6500K): Provides a bright, invigorating light ideal for commercial settings.
Common Challenges and Solutions
Even experienced contractors may encounter challenges when working with ceiling can lights. Here are some common issues and their solutions:
Insufficient Lighting
One of the most common complaints is insufficient lighting. To address this, consider:
- Adding more fixtures to achieve better coverage.
- Using higher wattage bulbs or switching to LED for increased brightness.
- Adjusting the layout to ensure even distribution of light.
Overheating Issues
Overheating can lead to fixture failure and potential fire hazards. To prevent this:
- Ensure proper installation, especially for non-IC rated fixtures.
- Use LED bulbs, which generate less heat than traditional options.
- Regularly check for dust accumulation in fixtures, which can trap heat.
Future Trends in Ceiling Can Lighting
The lighting industry is constantly evolving, and staying informed about trends can help contractors remain competitive. Here are a few trends to watch:
Smart Lighting Integration
Smart home technology is becoming increasingly popular, and integrating ceiling can lights with smart systems can enhance functionality. Features may include:
- Remote control via smartphone apps.
- Voice activation through smart assistants.
- Programmable schedules for energy savings.
Customization Options
As consumer preferences shift towards personalization, offering customizable can light options can set contractors apart. This may include:
- Variety in color temperatures and brightness levels.
- Custom trim designs to match specific decor styles.
- Adjustable fixtures that allow for directional lighting.
Conclusion
Ceiling can lights are an essential component of modern lighting design, offering versatility, efficiency, and aesthetic appeal. For lighting contractors, understanding the various types, installation techniques, and design considerations is crucial for delivering high-quality work. By staying informed about energy efficiency, common challenges, and emerging trends, contractors can ensure they meet the evolving needs of their clients.
With the right knowledge and skills, ceiling can lights can transform any space, providing both functionality and style. As the industry continues to evolve, embracing innovation and sustainability will be key to success in the competitive lighting market.
Get Your Premium Ceiling Can Lights at LumenWholesale
Ready to elevate your lighting projects with the best in ceiling can lights? Look no further than LumenWholesale, where we offer an exceptional range of spec-grade lighting products at wholesale prices that simply can’t be beaten. Say goodbye to local distributor markups and hello to superior lighting solutions that meet the highest industry standards. With free shipping on bulk orders, you can stock up on high-performance lighting while enjoying the ultimate in value and convenience. Don’t compromise on quality or cost. Wholesale Lighting at the Best Value is just a click away. Upgrade your lighting game with LumenWholesale today.