Converting a 4-inch deep canned light can be a rewarding project for lighting contractors, offering opportunities to enhance both functionality and aesthetics in residential and commercial spaces. This guide outlines best practices for converting these fixtures, ensuring that contractors can deliver quality results while adhering to safety standards and client expectations.
Understanding the Basics of Canned Lights
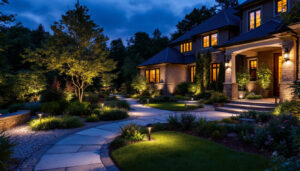
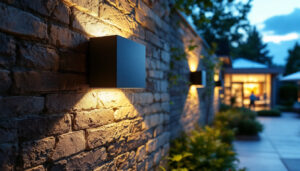
Canned lights, also known as recessed lights, are popular for their sleek appearance and ability to provide ambient lighting without taking up space. The 4-inch deep variant is particularly versatile, suitable for various applications from kitchens to living rooms. However, understanding the components and functionality of these fixtures is crucial for a successful conversion.
Components of a Canned Light
Before diving into the conversion process, it’s essential to familiarize oneself with the main components of a 4-inch canned light. Typically, these fixtures consist of a housing, trim, and bulb. The housing is the part that is installed in the ceiling, while the trim is the visible part that holds the bulb and can vary in style and finish. Understanding these components will aid in selecting the right materials for the conversion. Additionally, many modern canned lights come equipped with features such as dimmable options and smart technology integration, allowing users to control lighting levels and even change colors via mobile apps or voice commands. This added functionality not only enhances convenience but also allows for a more personalized lighting experience.
Common Applications
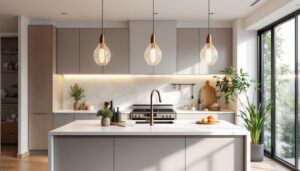
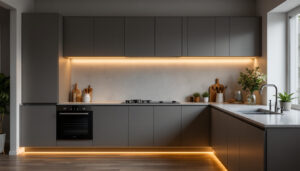
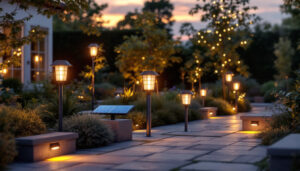
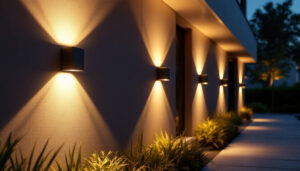
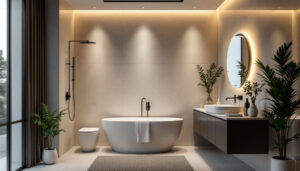
4-inch canned lights are often used in various settings, including residential homes, offices, and retail spaces. Their compact size makes them ideal for areas where space is limited, while still providing adequate lighting. Knowing the common applications helps contractors make informed decisions about the type of light and conversion method that will best suit the client’s needs. In kitchens, for instance, these lights can be strategically placed to illuminate countertops and workspaces, ensuring safety and efficiency while cooking. In living rooms, they can be used to highlight artwork or architectural features, creating a warm and inviting atmosphere. Furthermore, in commercial settings, the ability to adjust lighting levels can enhance the shopping experience, drawing attention to specific products and creating an inviting ambiance that encourages customers to linger longer.
Planning the Conversion
Proper planning is critical for any lighting conversion project. This phase involves assessing the existing fixtures, determining the desired outcome, and selecting appropriate materials. A well-thought-out plan can save time and resources, ensuring a smooth conversion process. Additionally, it helps to establish a timeline and budget, which are essential components for keeping the project on track and within financial limits. By addressing these factors upfront, you can mitigate potential delays and unexpected costs that may arise during the conversion.
Assessing the Existing Fixtures
Before beginning the conversion, evaluate the current state of the canned lights. Check for any damage, outdated technology, or compatibility issues with new lighting options. This assessment will help identify whether a simple bulb replacement is sufficient or if a more extensive conversion is required. It’s also beneficial to consider the layout and design of the space; understanding how the existing fixtures interact with the room’s architecture can inform decisions on placement and style. Furthermore, documenting the condition of each fixture can provide a useful reference for future maintenance or upgrades.
Determining Desired Outcomes
Engage with the client to understand their vision for the lighting. Are they looking for brighter illumination, energy-efficient options, or a specific aesthetic? This dialogue will guide the selection of new fixtures or bulbs, ensuring that the final result aligns with their expectations. Consideration should also be given to the functionality of the space; for instance, areas that require task lighting may benefit from adjustable fixtures, while ambient lighting can create a more inviting atmosphere. Additionally, discussing the potential for smart lighting solutions can open up new possibilities for convenience and energy savings, allowing clients to control their lighting with ease through mobile devices or voice commands.
Choosing the Right Lighting Options
Once the assessment and planning are complete, the next step is selecting the appropriate lighting options. This decision will significantly impact the overall effectiveness and appeal of the converted canned lights.
LED vs. Traditional Bulbs
One of the most significant decisions in the conversion process is choosing between LED and traditional incandescent or halogen bulbs. LED bulbs offer numerous advantages, including energy efficiency, longer lifespan, and lower heat output. While traditional bulbs may provide warmer light, they are less efficient and require more frequent replacement.
Considerations for Color Temperature
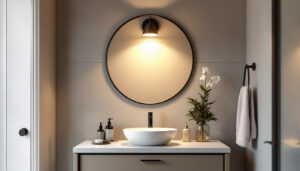
Color temperature plays a vital role in the ambiance created by the lighting. Warmer tones (2700K-3000K) are often preferred in residential settings for a cozy feel, while cooler tones (4000K-5000K) can enhance productivity in workspaces. Understanding the intended use of the space will help in selecting the right color temperature for the bulbs.
Step-by-Step Conversion Process
With a solid plan in place and the right materials selected, it’s time to move on to the conversion process. This section outlines a step-by-step guide to ensure a safe and effective conversion of 4-inch deep canned lights.
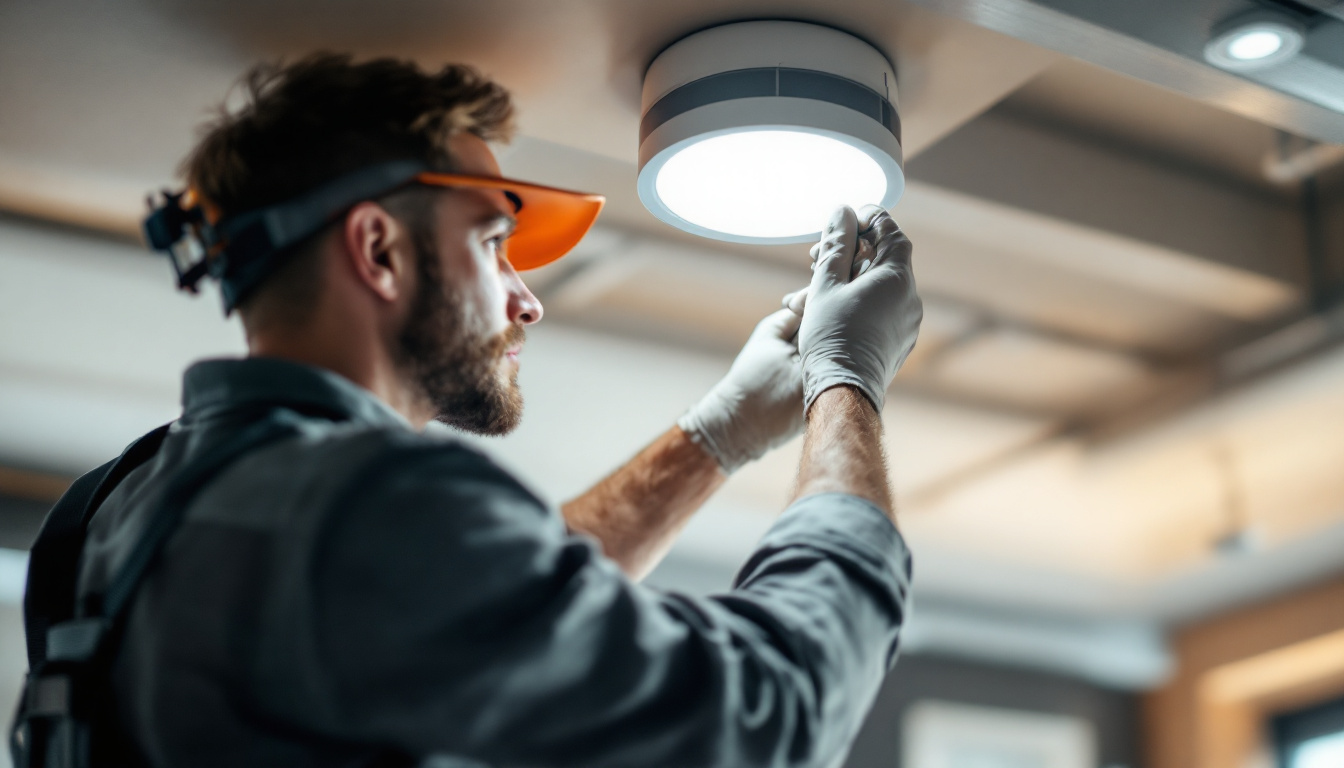
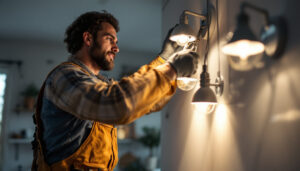
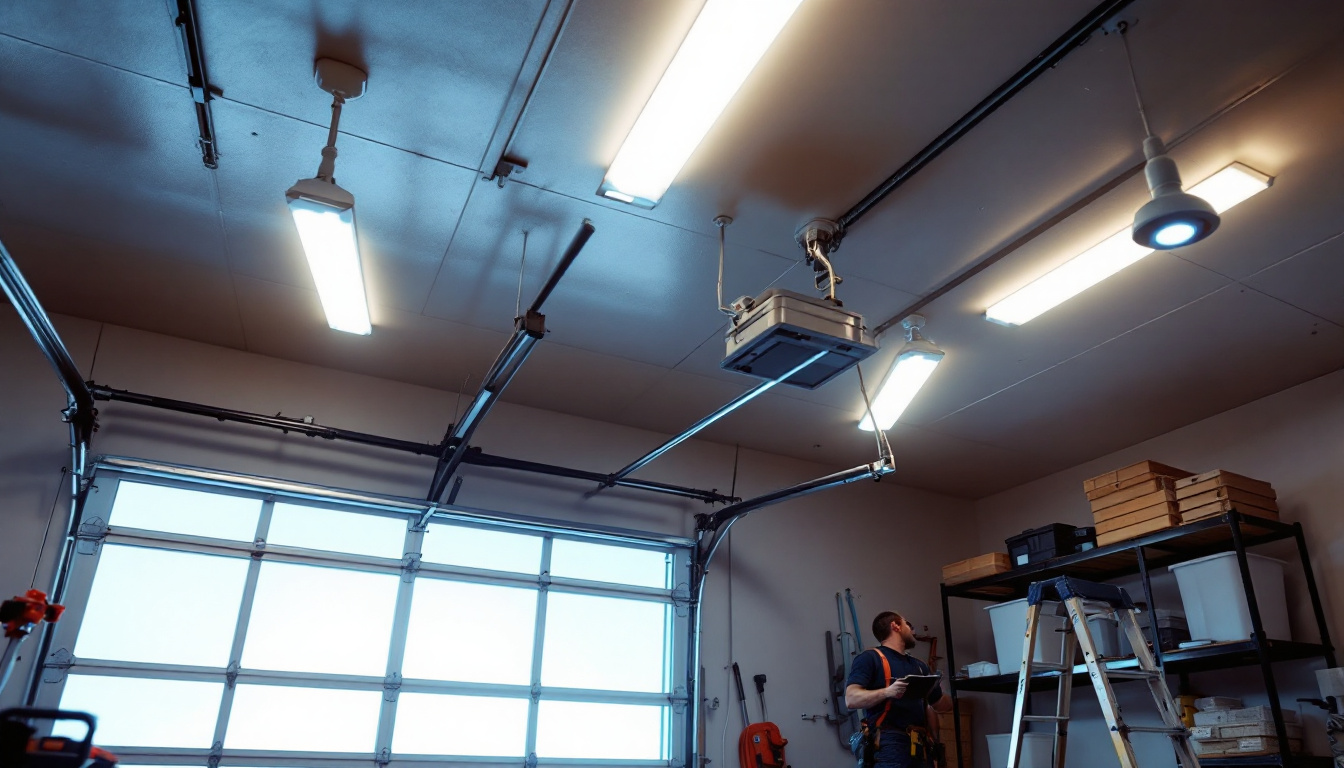
1. Safety First
Before starting any electrical work, safety should be the top priority. Turn off the power to the existing fixtures at the circuit breaker to avoid any electrical hazards. Use a voltage tester to confirm that there is no power running to the lights. Additionally, wearing safety goggles and gloves can protect against debris and accidental injuries during the conversion process.
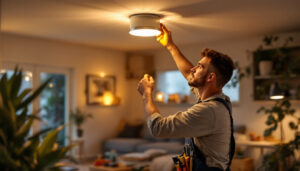
2. Remove the Existing Trim and Bulb
Carefully remove the trim from the canned light fixture. Depending on the design, this may involve unscrewing or unclipping the trim. Once the trim is removed, take out the existing bulb. If the bulb is stuck, gently twist it to loosen it, but avoid applying excessive force that could damage the fixture.
3. Install the New Socket or Adapter
If converting to a different type of bulb, such as from incandescent to LED, it may be necessary to install a new socket or adapter. Follow the manufacturer’s instructions for the specific socket being used. Ensure that all connections are secure and that there is no exposed wiring.
4. Attach the New Trim
Once the new socket is in place, it’s time to attach the new trim. Ensure that the trim is compatible with the new bulb and the housing. Secure it in place according to the manufacturer’s instructions, ensuring a snug fit to prevent any light leakage.
5. Insert the New Bulb
Carefully insert the new bulb into the socket, ensuring it is properly seated. If using LED bulbs, check for any specific installation requirements, such as orientation or additional components. Avoid touching the glass of the bulb with bare hands, as oils from the skin can reduce its lifespan.
6. Restore Power and Test
Once everything is securely in place, restore power to the circuit at the breaker. Turn on the light switch to test the new installation. Observe the light output and ensure there are no flickering or dimming issues. If any problems arise, double-check all connections and components.
Post-Conversion Considerations
After completing the conversion, there are several considerations to keep in mind to ensure long-term satisfaction for both the contractor and the client.
Maintenance and Upkeep
Inform clients about the importance of regular maintenance for their new lighting. While LED bulbs have a longer lifespan, they may still require periodic checks to ensure optimal performance. Encourage clients to clean the fixtures regularly to prevent dust buildup, which can affect light output.
Client Education
Educating clients about their new lighting system can enhance their overall experience. Provide them with information on the benefits of LED lighting, how to adjust brightness if using dimmers, and the importance of using compatible bulbs. This knowledge empowers clients to make informed decisions regarding their lighting needs in the future.
Common Challenges and Solutions
While converting 4-inch deep canned lights can be straightforward, challenges may arise during the process. Being prepared for these issues can save time and ensure a smooth project completion.
Dealing with Limited Space
One common challenge when converting canned lights is working in tight spaces. When the ceiling is low or the fixture is surrounded by insulation, maneuvering can be difficult. In such cases, using compact tools and working methodically can help navigate these constraints. Additionally, consider using adjustable fixtures that can accommodate various ceiling heights.
Compatibility Issues
Another potential issue is compatibility between the existing housing and new lighting options. If the new bulb or trim does not fit properly, it may be necessary to source compatible components. Keeping a variety of adapters and trim styles on hand can help mitigate this issue and streamline the conversion process.
Conclusion
Converting a 4-inch deep canned light can significantly enhance the lighting quality and energy efficiency in a space. By following best practices, from understanding the basics of canned lights to executing a step-by-step conversion process, lighting contractors can deliver exceptional results. With proper planning, the right materials, and a focus on client education, contractors can ensure that their lighting conversions meet the highest standards of quality and satisfaction.
Ultimately, staying informed about the latest trends and technologies in lighting can further enhance a contractor’s expertise, allowing them to provide clients with innovative solutions tailored to their specific needs. Whether it’s a simple bulb replacement or a comprehensive conversion, the goal remains the same: to illuminate spaces beautifully and efficiently.
Upgrade Your Lighting Projects with LumenWholesale
Ready to take your lighting conversions to the next level? At LumenWholesale, we provide lighting contractors with the highest quality, spec-grade lighting products at prices that can’t be beaten. Say goodbye to local distributor markups and hello to a vast selection of reliable, high-performance lighting that meets the most rigorous industry standards. Plus, with free shipping on bulk orders, you can stock up on premium lighting without any hidden fees or compromises. Elevate your lighting projects with the perfect combination of quality, affordability, and convenience. Discover the best value in wholesale lighting by visiting Wholesale Lighting at the Best Value today.