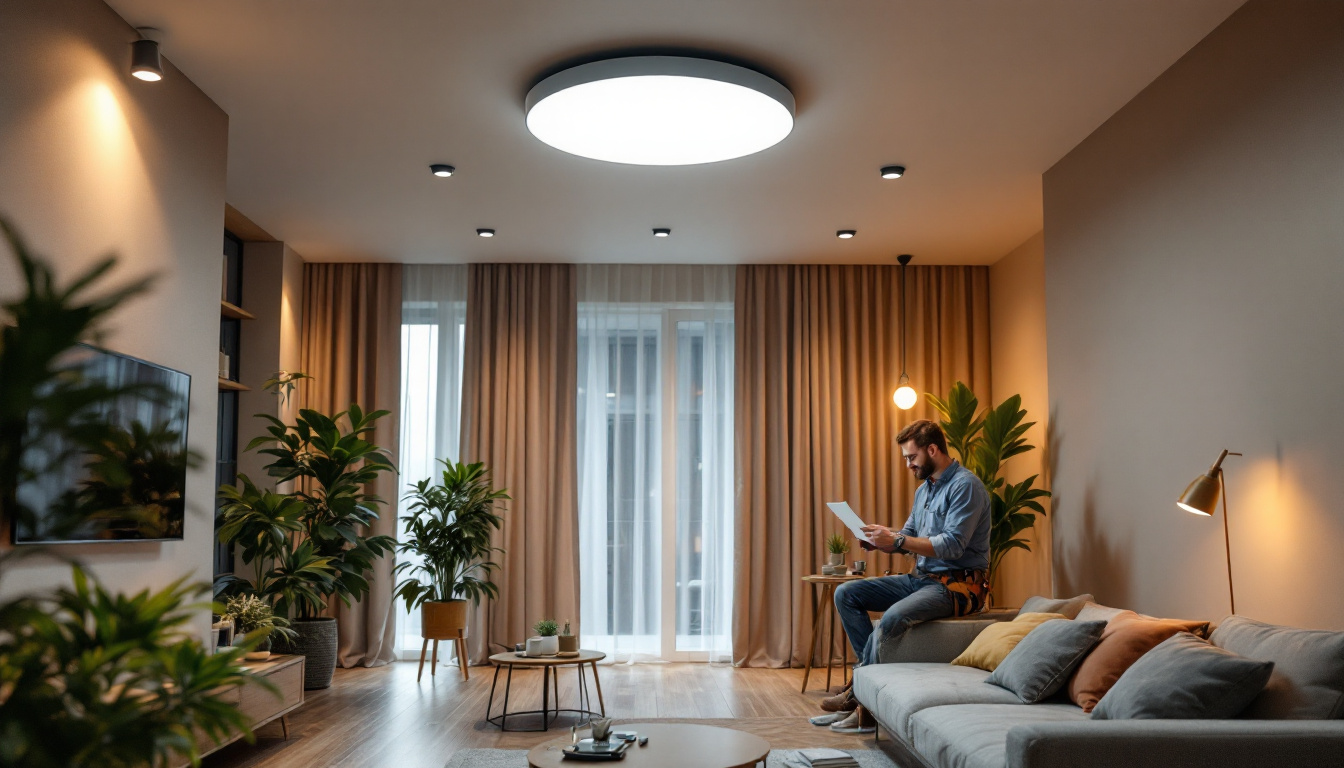
As the demand for energy-efficient and aesthetically pleasing lighting solutions continues to rise, LED ceiling pot lights have become a popular choice among homeowners and businesses alike. For lighting contractors, understanding the nuances of these fixtures is essential to ensure successful installations and satisfied clients. This article provides a comprehensive checklist that covers everything from planning and installation to maintenance, ensuring that lighting contractors are well-prepared for any project involving LED ceiling pot lights.
Understanding LED Ceiling Pot Lights
LED ceiling pot lights, also known as recessed lights or downlights, are fixtures installed into the ceiling, providing a clean and modern look. They are available in various sizes, shapes, and color temperatures, making them versatile for different applications. Understanding their components and functionality is crucial for effective installation.
Components of LED Ceiling Pot Lights
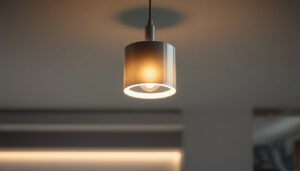
Typically, an LED pot light consists of several key components: the housing, trim, and LED module. The housing is the part that is installed into the ceiling and often includes insulation contact (IC) ratings, which determine whether it can be placed in contact with insulation. The trim is the visible part of the fixture, which can vary in style, and the LED module is the light source itself.
Additionally, many LED pot lights come with features such as dimming capabilities, color temperature adjustments, and smart technology integration, which can enhance their functionality and appeal. Understanding these components helps contractors make informed choices about which products to recommend to clients. For instance, the ability to adjust color temperatures allows homeowners to create different moods in a space, from warm and cozy to bright and energizing, depending on the time of day or activity being performed.
Benefits of Using LED Ceiling Pot Lights
There are several advantages to using LED ceiling pot lights over traditional incandescent or fluorescent fixtures. Firstly, LEDs are significantly more energy-efficient, consuming up to 80% less energy than incandescent bulbs. This efficiency translates into lower energy bills for homeowners and businesses.
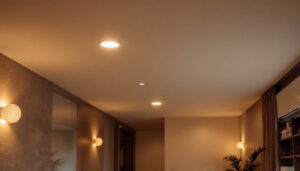
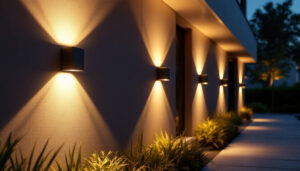
Moreover, LED lights have a longer lifespan, often lasting up to 25,000 hours or more, which reduces the frequency of replacements and maintenance costs. They also produce less heat, making them safer and more comfortable in enclosed spaces. Additionally, the aesthetic appeal of recessed lighting can enhance the overall ambiance of a room, making it a favored choice for both residential and commercial applications. The sleek design of pot lights allows them to blend seamlessly into ceilings, providing a minimalist look that can make spaces feel larger and more open. Furthermore, their ability to be strategically placed can highlight architectural features, artwork, or specific areas within a room, adding depth and dimension to the overall design.
Pre-Installation Considerations
Before diving into the installation process, several pre-installation considerations must be addressed. These factors can significantly impact the efficiency and effectiveness of the lighting solution provided.
Assessing the Space
Conducting a thorough assessment of the space where the LED pot lights will be installed is essential. Consider the room’s dimensions, ceiling height, and existing lighting conditions. This evaluation will help determine the appropriate number of fixtures needed and their placement for optimal illumination.
For instance, in larger rooms, more fixtures may be required to ensure even lighting distribution, while in smaller spaces, fewer lights may suffice. Additionally, consider the function of the space; task-oriented areas such as kitchens or home offices may require brighter lighting compared to living rooms or bedrooms. It’s also important to take into account any architectural features, such as beams or alcoves, that might influence light placement. Shadows cast by these features can affect the overall lighting quality, so planning around them is key to achieving a well-lit environment.
Choosing the Right Fixtures
With a plethora of LED pot light options available, selecting the right fixtures is crucial. Factors such as color temperature, beam angle, and dimming capabilities should be taken into account. Color temperatures range from warm white (2700K) to cool white (5000K), and the choice often depends on the desired ambiance. Warmer tones create a cozy atmosphere, while cooler tones are more suitable for task-oriented spaces.
Beam angle is another important consideration. A narrow beam angle focuses light on a specific area, while a wider angle provides broader illumination. Understanding the intended use of the space will guide the selection process. Additionally, if clients desire flexibility in lighting, opting for dimmable fixtures can enhance the overall experience. Beyond functionality, aesthetics also play a role; fixtures come in various designs and finishes, allowing homeowners to choose options that complement their decor. Whether aiming for a sleek modern look or a more traditional style, the right fixtures can elevate the overall design of the space while providing the necessary illumination.
Installation Process
The installation of LED ceiling pot lights requires careful planning and execution to ensure safety and effectiveness. Following a systematic approach can help streamline the process.
Tools and Equipment Needed
Before starting the installation, gather all necessary tools and equipment. Common tools required for installing LED pot lights include a drill, hole saw, wire strippers, and a voltage tester. Having these tools on hand will facilitate a smoother installation process and minimize delays.
Additionally, ensure that the appropriate safety gear is available, such as gloves and goggles, to protect against potential hazards during installation. Safety should always be a priority when working with electrical components. It’s also wise to have a flashlight handy, especially if you’re working in a dimly lit area or if the power needs to be turned off for an extended period. A sturdy ladder may also be necessary to reach higher ceilings, ensuring that you can work comfortably and safely at a height.
Step-by-Step Installation Guide
1. **Turn Off Power**: Before beginning the installation, ensure that the power to the circuit is turned off at the breaker box to prevent electrical shock.
2. **Mark the Locations**: Based on the pre-installation assessment, mark the locations on the ceiling where the pot lights will be installed. Use a pencil and a measuring tape to ensure accurate placement. Consider the spacing between lights to create an even distribution of light, which can enhance the ambiance of the room.
3. **Cut the Holes**: Using a hole saw, carefully cut holes in the ceiling at the marked locations. Take care to avoid any electrical wires or plumbing that may be hidden within the ceiling. It may be beneficial to use a stud finder before cutting to ensure there are no obstructions in the way.
4. **Install the Housing**: Insert the housing into the cut holes. Most housings are designed to be secured with clips or screws. Ensure that the housing is level and flush with the ceiling. Pay attention to the type of housing you are using, as some are designed for new construction while others are made for retrofitting existing ceilings.
5. **Wiring**: Connect the wiring according to the manufacturer’s instructions. Typically, this involves connecting the hot wire (black), neutral wire (white), and ground wire (green or bare). Use wire nuts to secure the connections and ensure they are insulated. If you’re unsure about the wiring process, consulting a professional electrician can provide peace of mind and ensure compliance with local electrical codes.
6. **Attach the Trim and LED Module**: Once the wiring is complete, attach the trim and LED module to the housing. Ensure that everything is securely fastened and properly aligned. This step can greatly influence the overall aesthetic appeal of the installation, so take your time to ensure a neat finish.
7. **Turn On Power and Test**: After installation, turn the power back on at the breaker box and test the lights to ensure they function correctly. If any issues arise, double-check the wiring and connections. It’s also a good idea to observe the light output and color temperature, as different LED modules can produce varying effects, allowing you to create the desired atmosphere in your space.
Post-Installation Considerations
After the installation is complete, there are several post-installation considerations that contractors should keep in mind to ensure client satisfaction and the longevity of the lighting system.
Client Education
Educating clients about their new LED ceiling pot lights is essential. Provide them with information on how to operate dimmers, if applicable, and explain the benefits of LED lighting, including energy savings and longevity. This knowledge empowers clients to make the most of their new lighting system.
Additionally, inform clients about the importance of regular maintenance, such as cleaning the fixtures and checking for any signs of wear or malfunction. This proactive approach can help extend the lifespan of the lights and maintain their performance.
Maintenance and Troubleshooting
Regular maintenance is key to ensuring the longevity and efficiency of LED ceiling pot lights. Encourage clients to periodically check for dust accumulation on the fixtures, as this can affect light output. A simple wipe with a damp cloth can often restore brightness.
If clients experience flickering or dimming lights, it may indicate a problem with the wiring or the LED module. In such cases, a thorough inspection should be conducted to identify and resolve the issue promptly. Providing clients with a troubleshooting guide can be beneficial for common issues they may encounter.
Conclusion
LED ceiling pot lights offer a modern and efficient lighting solution for various spaces. For lighting contractors, understanding the intricacies of these fixtures, from pre-installation considerations to post-installation maintenance, is vital for delivering exceptional service and ensuring client satisfaction.
By following the checklist outlined in this article, contractors can navigate the complexities of LED pot light installations with confidence. As the lighting industry continues to evolve, staying informed about the latest technologies and best practices will empower contractors to meet the growing demands of their clients effectively.
Ultimately, the successful installation of LED ceiling pot lights not only enhances the aesthetic appeal of a space but also contributes to energy savings and improved functionality, making them a wise investment for any lighting project.
Get Your LED Ceiling Pot Lights at LumenWholesale
Ready to elevate your lighting projects with the efficiency and elegance of LED ceiling pot lights? Look no further than LumenWholesale, where we provide contractors with the highest quality, spec-grade lighting products at prices that can’t be beaten. Say goodbye to local distributor markups and hello to our direct wholesale rates, ensuring you get the most value for your investment. Our extensive selection is designed to meet rigorous industry standards, so you can trust in the performance and reliability of every fixture. Plus, with free shipping on bulk orders, you can stock up on premium lighting solutions without worrying about hidden fees or complications. Make your next project shine with the perfect combination of quality, affordability, and convenience at LumenWholesale — your destination for Wholesale Lighting at the Best Value.